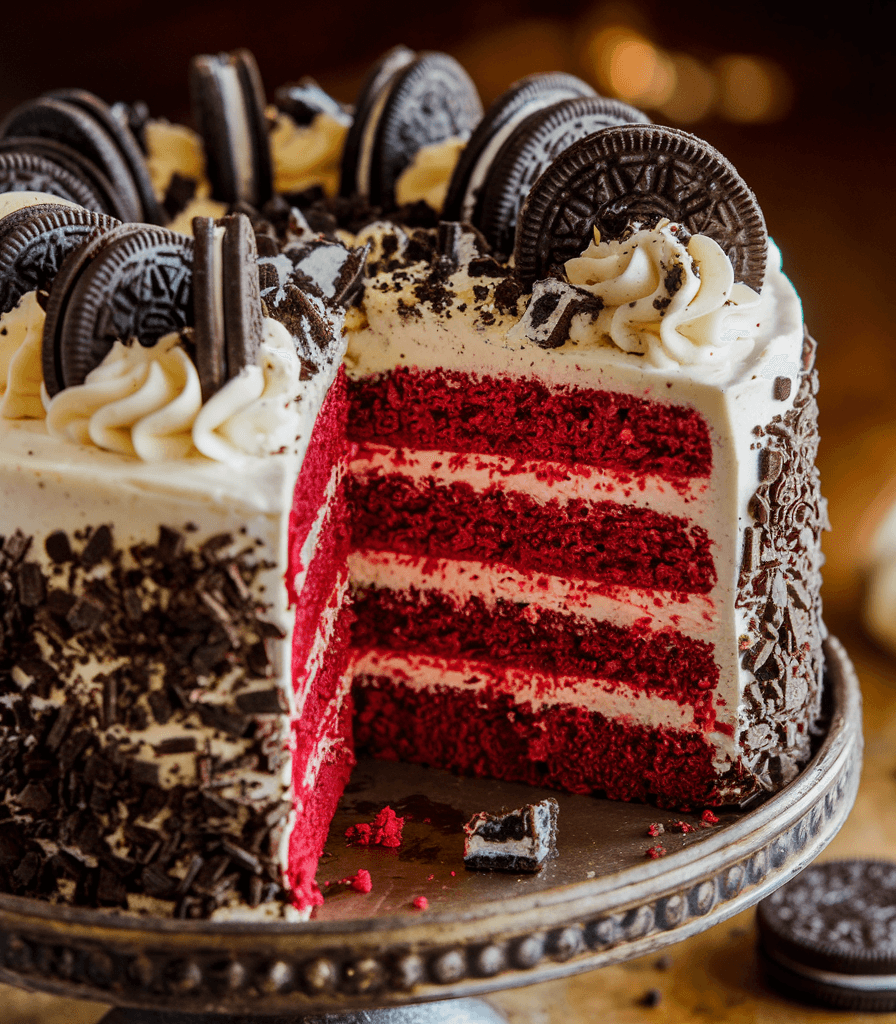
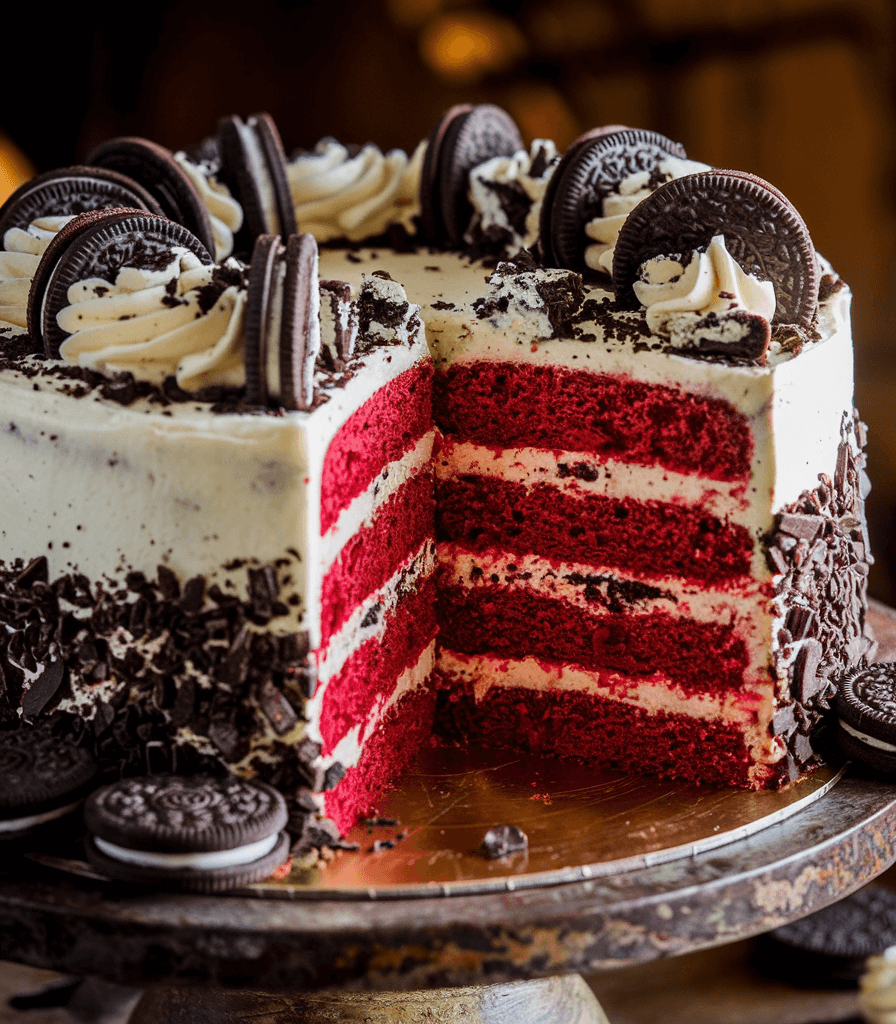
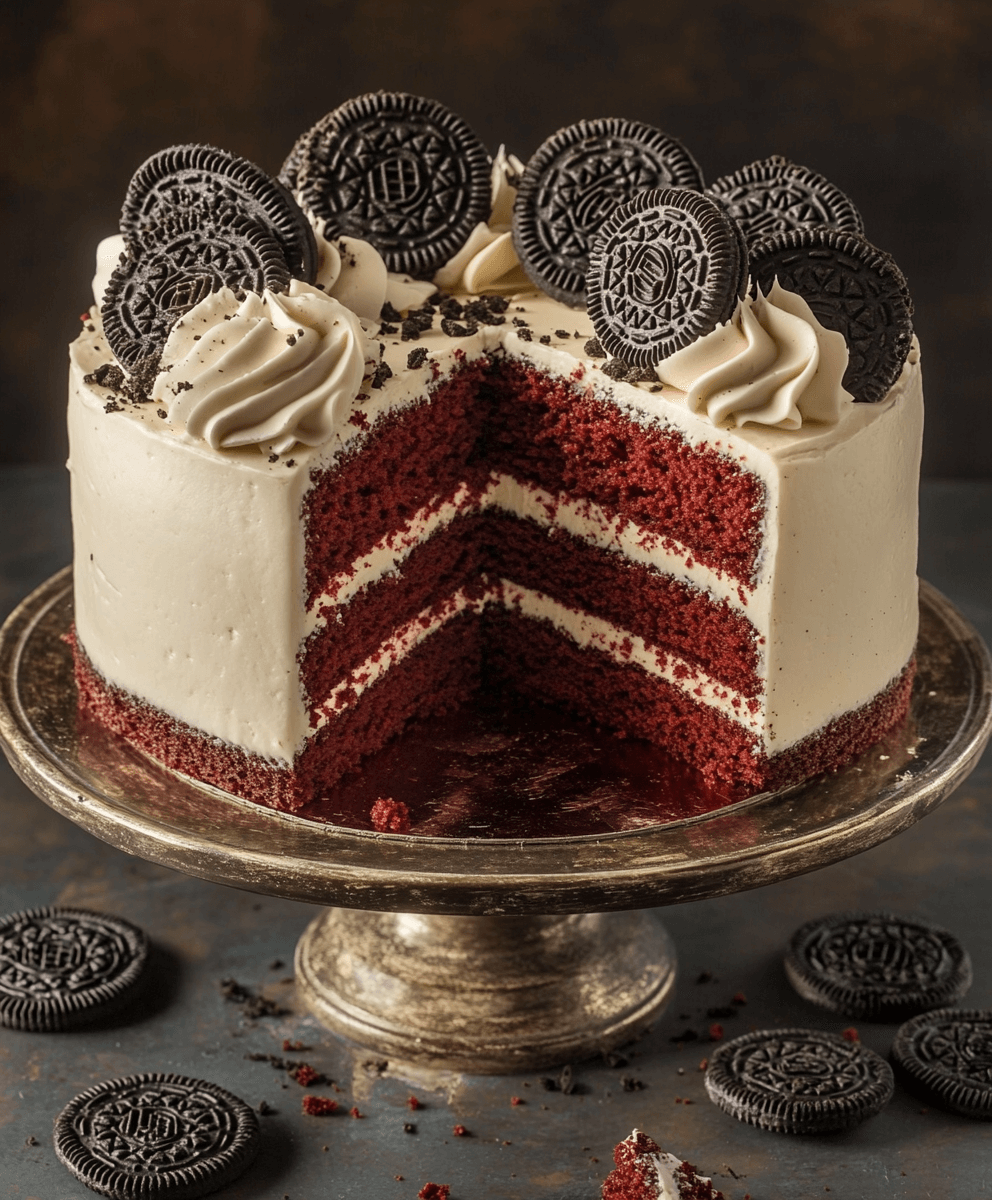
The red velvet Oreo cake is a show-stopping dessert that combines the moist, rich layers of red velvet cake with the irresistible crunch of Oreo cookies. With its vibrant colours and decadent flavours, this cake is visually stunning and a crowd-pleaser perfect for any occasion, from birthdays to casual gatherings.
What makes this cake even more appealing is its simplicity. Designed with beginners in mind, the recipe uses essential ingredients and straightforward techniques, making it accessible to everyone, whether you’re an experienced baker or trying your hand at baking for the first time.
In this post, we’ll guide you through every step, from preparing the perfect red velvet cake layers to creating a creamy Oreo filling and decorating your cake like a pro. We’ll also share expert tips and creative variations to make this dessert your own. Let’s get started on this delicious journey!
Ingredients You’ll Need for Red Velvet Oreo Cake
The Cake Layers:
- Red velvet cake mix (for a quick option) or a homemade red velvet cake recipe for a more personalized touch.
- Eggs, oil, and buttermilk to ensure a moist and tender texture in every bite.
The Oreo Filling:
- Crushed Oreo cookies add a satisfying crunch and iconic flavour.
- Cream cheese frosting or freshly whipped cream for a creamy, sweet filling that complements the cake layers.
The Decorations:
- Whole Oreo cookies for an elegant topping or fun, casual presentation.
- Chocolate shavings or colourful sprinkles enhance the cake’s visual appeal and add a touch of extra sweetness.
Pro Tip
Always use freshly crushed Oreos for maximum crunch and flavour. To crush them evenly, place the cookies in a sealed bag and use a rolling pin to break them into small pieces without turning them into fine crumbs.
Step-by-Step Instructions to Make Red Velvet Oreo Cake
Prepare the Cake Layers
- Follow the red velvet cake mix box instructions, or make your batter from scratch using a favourite recipe.
- Divide the batter evenly into two or three greased and floured cake pans to ensure even layers.
- Bake according to the specified time and temperature. Once baked, allow the cakes to cool completely on a wire rack before assembling.
Make the Oreo Filling
- Place Oreo cookies in a sealed bag and crush them into small pieces using a rolling pin or food processor.
- In a mixing bowl, combine the crushed Oreos with cream cheese frosting or freshly whipped cream until smooth and well blended.
- Refrigerate the mixture for 15–20 minutes to thicken and make it easier to spread during assembly.
Assemble the Cake
- Set the initial cake layer on a serving plate or a cake board.
- Spread an even layer of Oreo filling over the top of the cake layer.
- Add the next cake layer and repeat the process, spreading the filling evenly between each layer.
- Frost the top and sides of the cake with cream cheese frosting or a light layer of the Oreo filling for a cohesive look.
Pro Tip
For a professional finish, use a turntable while frosting the cake. It allows for smooth and even application, ensuring your cake looks as good as it tastes!
Tips for the Perfect Red Velvet Oreo Cake
Achieving Moist Cake Layers
Incorporate buttermilk or sour cream into the batter to achieve perfectly moist and rich cake layers. These ingredients enhance the cake’s tenderness and ensure a soft crumb that melts in your mouth with every bite.
When mixing the batter, be mindful not to overmix, as this can overdevelop the gluten in the flour, leading to dense and heavy layers. Stir only until the ingredients are fully incorporated for optimal results.
Creating a Smooth Frosting Finish
After assembling the cake layers, chill the cake in the refrigerator for at least 30 minutes. This helps the filling set, making the layers more stable and easier to frost.
Use tools like an offset spatula and a bench scraper for a professional finish. Start with a crumb coat—a thin layer of frosting that traps crumbs and creates a smooth surface. Once the crumb coat sets, apply the final layer of frosting for a flawless appearance.
Keeping the Cake Fresh
Cover your cake with plastic wrap or place it in an airtight container to keep it fresh and prevent it from drying out. This helps seal in moisture and maintain the cake’s flavour.
If using cream cheese frosting, refrigeration is essential to keep the frosting firm and safe to eat. Let the cake reach room temperature before serving to enhance its flavor and texture.
Pro Tip
Line your cake pans with parchment paper circles before pouring in the batter. This simple step ensures the layers release effortlessly from the pans, preventing breakage and saving time during assembly.
Creative Variations for Red Velvet Oreo Cake
No-Bake Red Velvet Oreo Cake
How to Make It
Crumble pre-baked or store-bought red velvet cake and layer it in a trifle dish with crushed Oreos and whipped cream or cream cheese frosting. Repeat the layers until the dish is entire, finishing with a decorative topping of crushed Oreos and whipped cream.
Why You’ll Love It
This no-bake option is perfect for hot days when you want to avoid the oven but still enjoy the flavours of red velvet and Oreos. It’s quick to assemble, visually impressive, and always a crowd-pleaser.
Chocolate Ganache Drizzle
How to Make It
Melt equal parts heavy cream and chocolate chips over low heat to create a glossy chocolate ganache. Let the ganache cool slightly, then drizzle it over the frosted cake using a spoon or piping bag for a luxurious touch.
Flavour Boost
The smooth richness of the ganache complements the creamy frosting and crunchy Oreos, amplifying the dessert’s decadence. For an extra flourish, let some ganache drip down the sides of the cake for a dramatic effect.
Mini Red Velvet Oreo Cakes
How to Make It
Pour the red velvet batter into cupcake moulds or mini cake pans and bake as directed. Once cooled, layer with Oreo filling or frosting between mini cakes, or simply pipe frosting on top for a delightful individual dessert.
Perfect For
These single-serve treats are ideal for parties, weddings, or holiday celebrations. They offer guests a beautifully presented dessert without slicing a whole cake.
Pro Tip
Experiment with various Oreo flavours, such as mint, birthday cake, or golden Oreos, to create unique combinations tailored to your event or taste preferences. These creative twists allow you to customize the cake for specific themes or celebrations, ensuring your dessert stands out and delight every guest!
FAQs and Storage Tips for Red Velvet Oreo Cake
FAQs
Can I use homemade red velvet batter?
Absolutely! Homemade batter allows you to customize the flavour and sweetness, making the cake more personal and delicious.
What are some alternative methods to crush Oreos without using a food processor?
Put the Oreos in a sealed plastic bag and use a rolling pin to crush them. This method is quick and easy and doesn’t require special equipment.
Can I make this cake gluten-free?
Yes! Use a gluten-free red velvet cake mix and replace regular Oreos with gluten-free alternatives. This way, everyone can enjoy this dessert.
Storage Tips
Refrigeration
Store the fully assembled cake in an airtight container and refrigerate it for up to 5 days. Refrigeration helps maintain the cream cheese frosting’s firmness and prevents the cake layers from drying. For the best flavour, let the cake sit at room temperature for 10–15 minutes before serving.
Freezing
To preserve leftovers, slice the cake into portions for easy later serving. Wrap each slice tightly in plastic wrap to prevent freezer burn, then place the wrapped slices in a freezer-safe bag or airtight container. Freeze for up to 2 months. When ready to enjoy, thaw the slices overnight in the refrigerator for a dessert that tastes as fresh as the day it was made.
Pro Tip
Hold off on adding crushed or whole Oreo toppings until just before serving. This ensures the Oreos remain crispy and fresh, preserving both the texture and the presentation of your red velvet Oreo cake. This simple step guarantees that every slice looks stunning and tastes incredible!
Conclusion
Making a red velvet Oreo cake at home is a delightful and rewarding experience, combining the classic charm of red velvet with the irresistible crunch of Oreos. With its simple preparation and endless opportunities for creativity, this cake is perfect for any occasion, from birthdays to casual family gatherings.
If you’re a fan of red velvet desserts, don’t miss our Red Velvet Cookies recipe—another irresistible treat to try at home.
Whether you stick to the traditional recipe or add your unique twists, this dessert is guaranteed to impress in flavour and presentation. Don’t hesitate to experiment with different toppings, fillings, or variations to make it truly your own.
We’d love to see your red velvet Oreo cake creations! Please share your tips, photos, or questions in the comments below or tag us on social media. Let’s inspire each other to bake something extraordinary. Happy baking!

Red Velvet Oreo Cake
Ingredients
For the Cake Layers:
- Red velvet cake mix (or homemade red velvet batter)
- Eggs (as per cake mix instructions)
- Oil (as per cake mix instructions)
- Buttermilk (for extra moisture)
For the Oreo Filling:
- 12-15 Oreo cookies (crushed)
- 1 cup cream cheese frosting (or freshly whipped cream)
For the Decorations:
- 8-10 whole Oreo cookies (for topping)
- Chocolate shavings or sprinkles (optional)
Instructions
Prepare the Cake Layers:
- Preheat your oven according to the red velvet cake mix instructions or your homemade recipe.
- Mix the red velvet cake batter as directed.
- Divide batter evenly between 2–3 greased and floured cake pans.
- Bake as per instructions. Cool completely on a wire rack before assembling.
Make the Oreo Filling:
- Place Oreo cookies in a sealed bag and crush them using a rolling pin or food processor.
- Mix crushed Oreos with cream cheese frosting or whipped cream until smooth.
- Chill the mixture for 15–20 minutes.
Assemble the Cake:
- Place the first cake layer on a plate or cake board.
- Spread a generous layer of Oreo filling over the top.
- Repeat the process with the remaining cake layers.
- Frost the top and sides with cream cheese frosting or a thin layer of Oreo filling.
Decorate:
- Top the cake with whole Oreo cookies and chocolate shavings or sprinkles as desired.