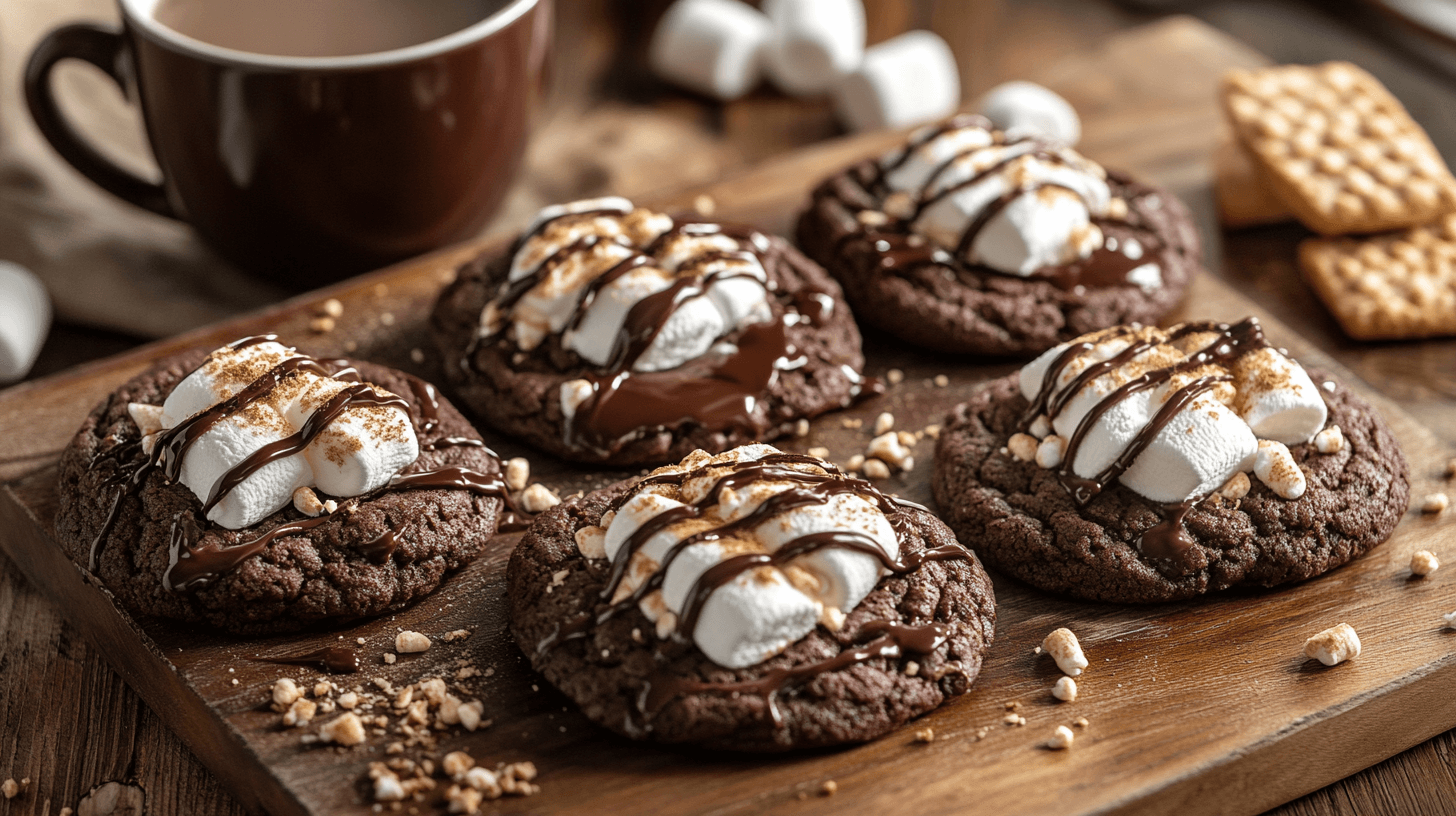
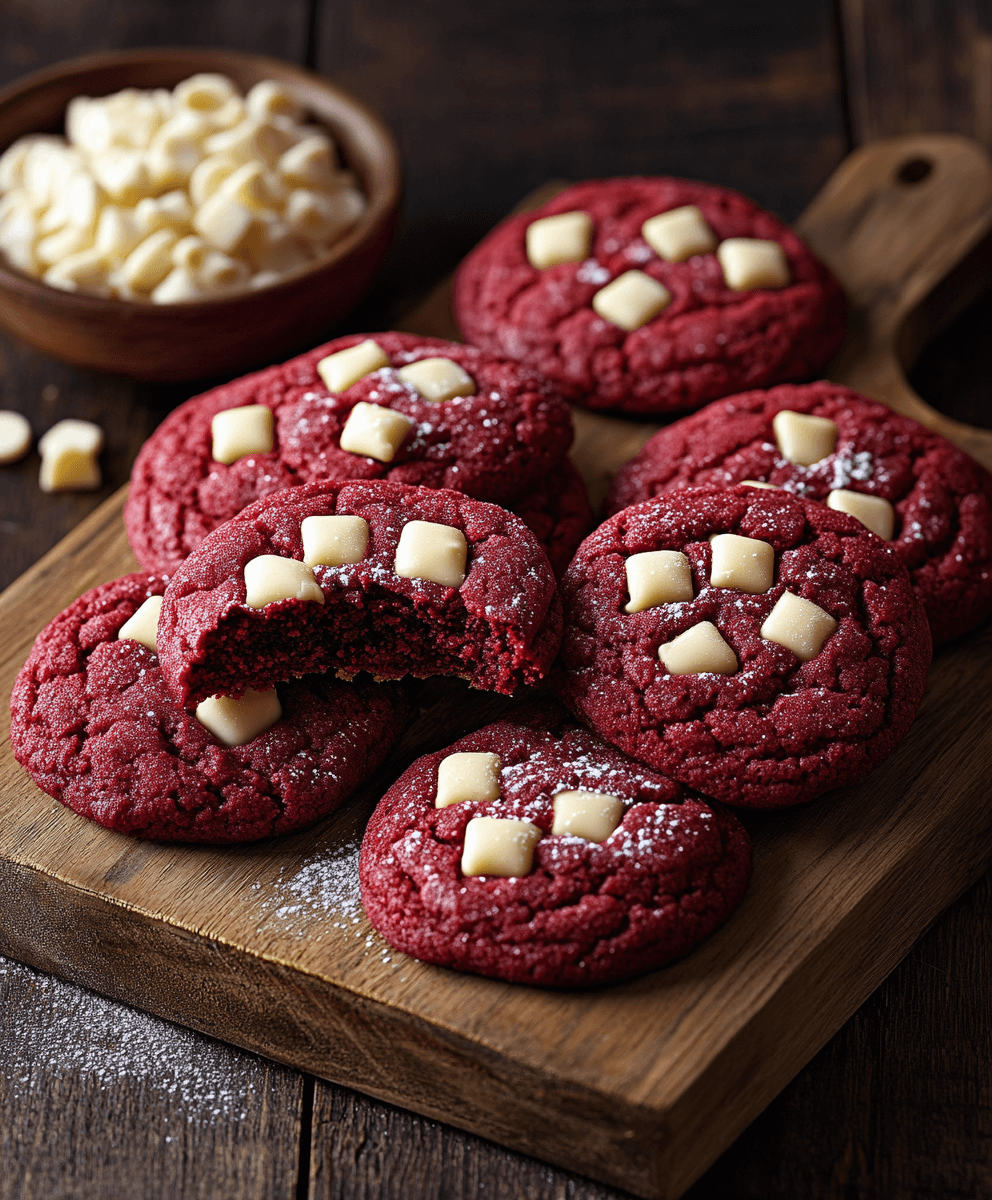
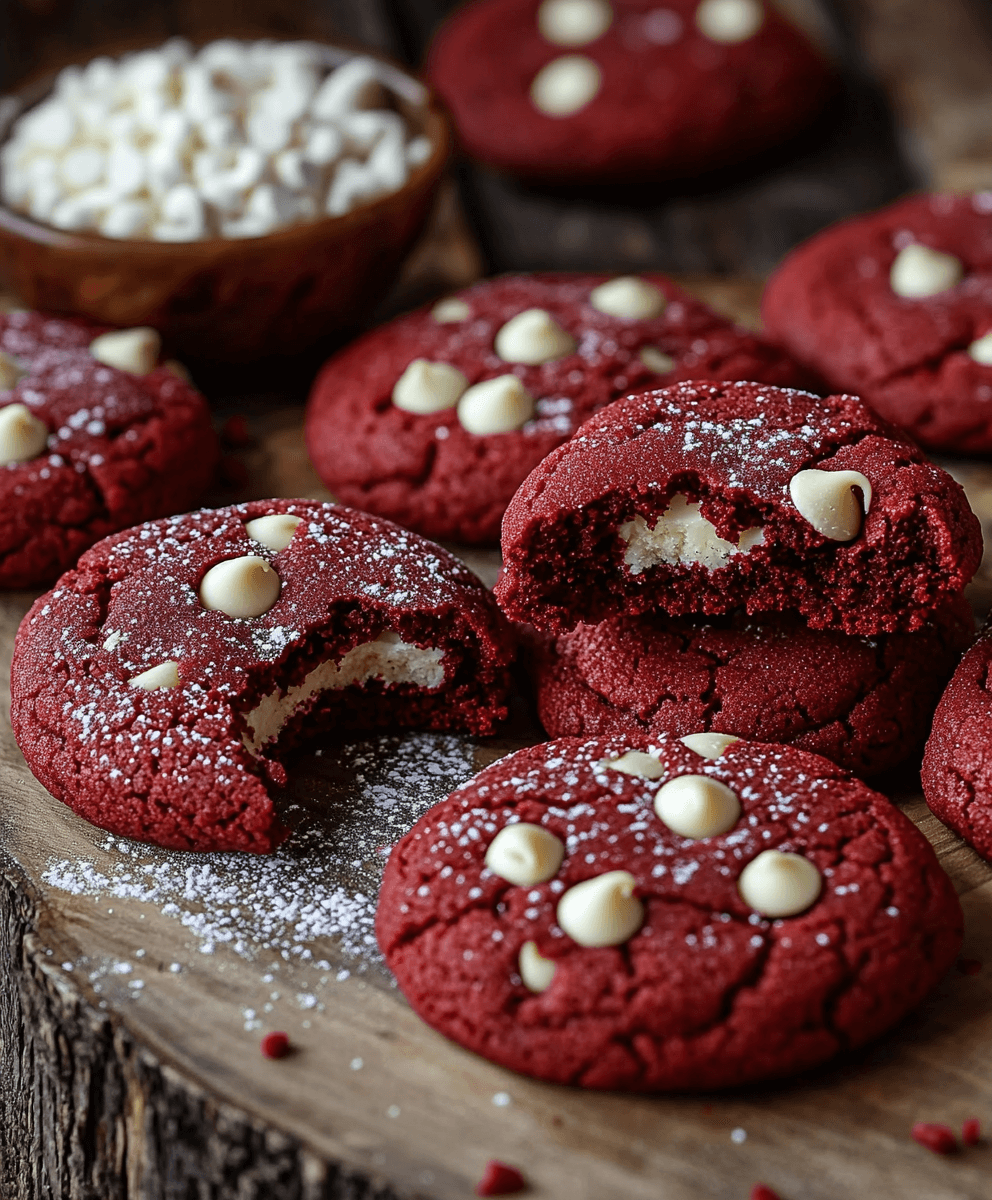
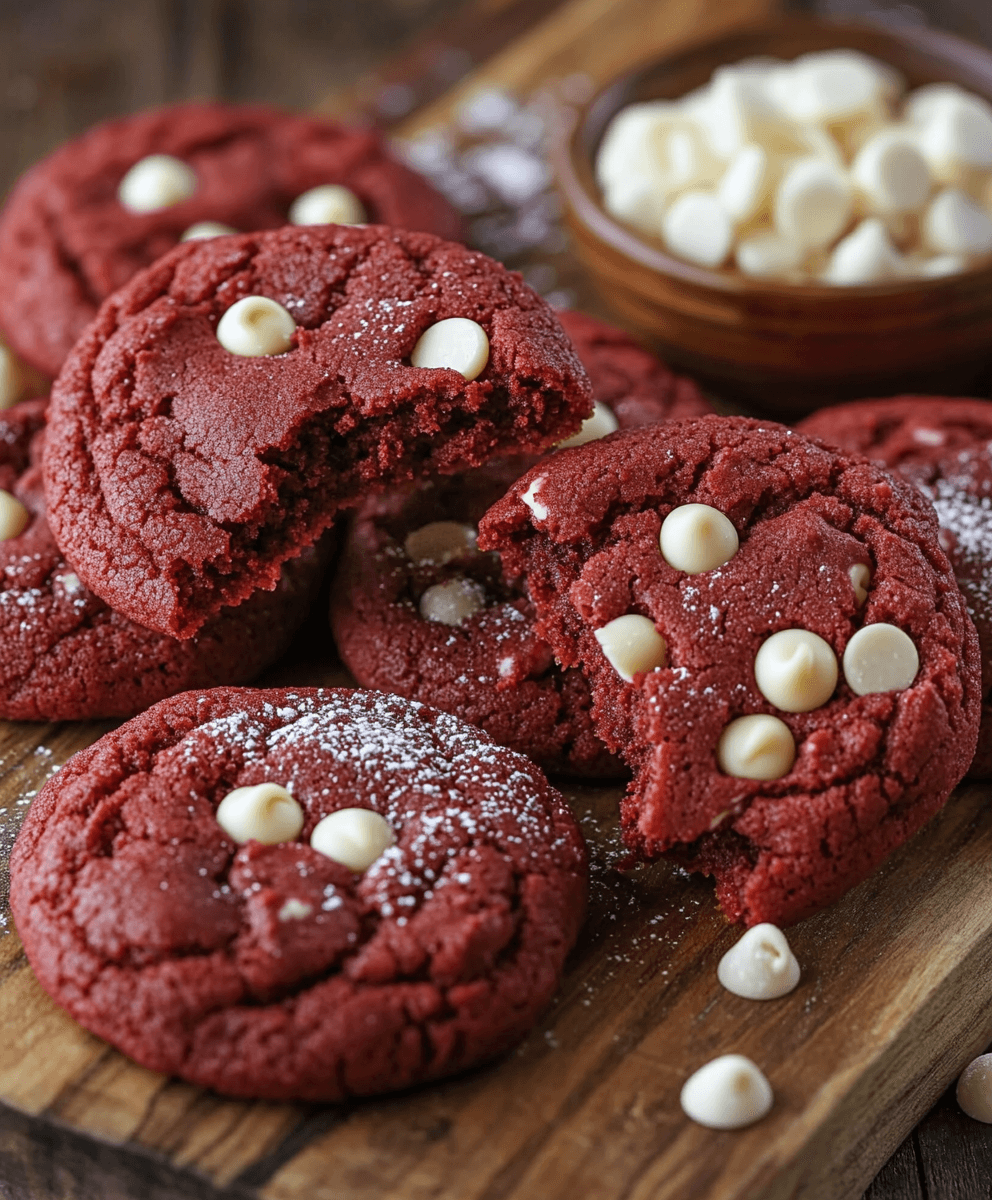
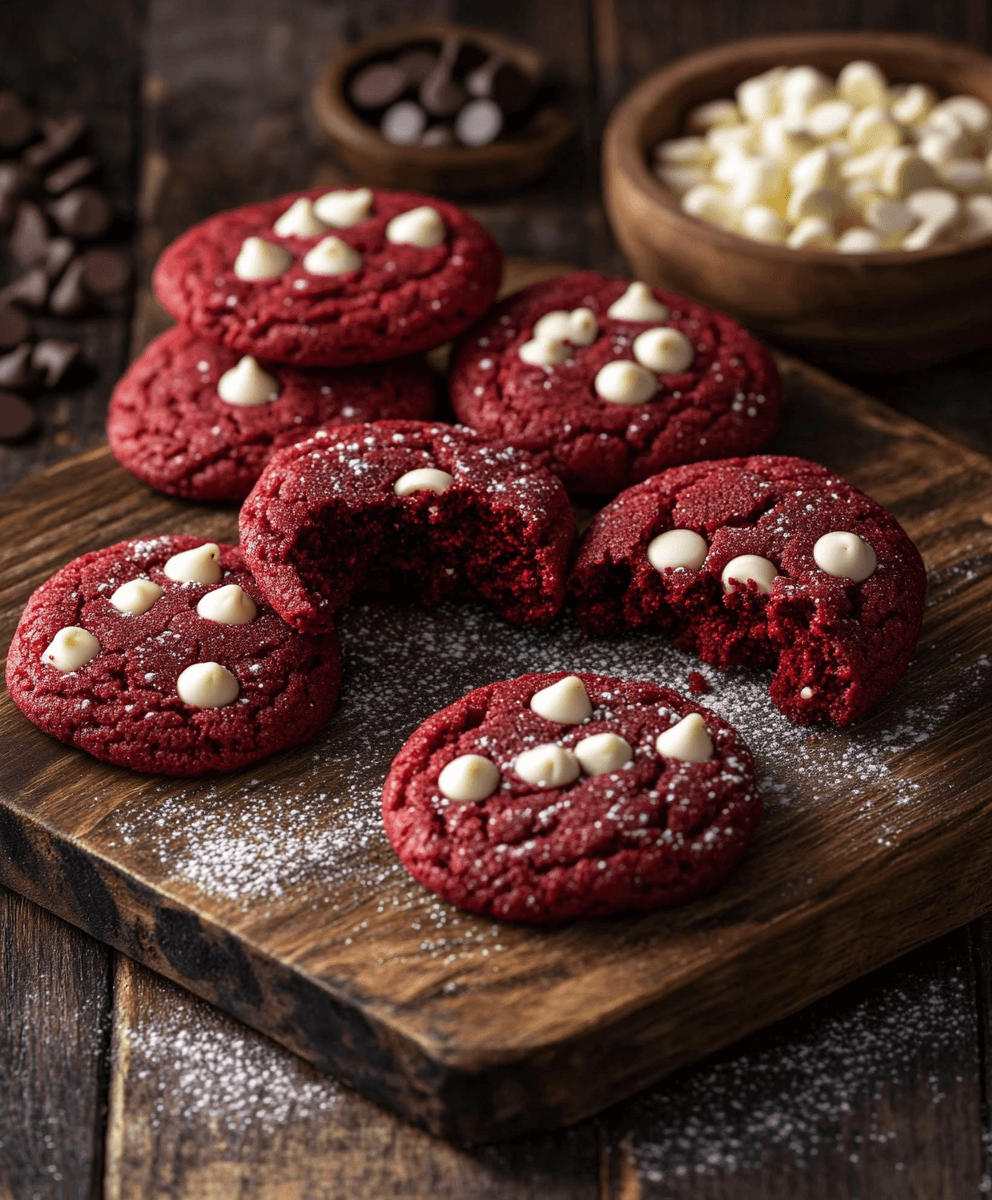
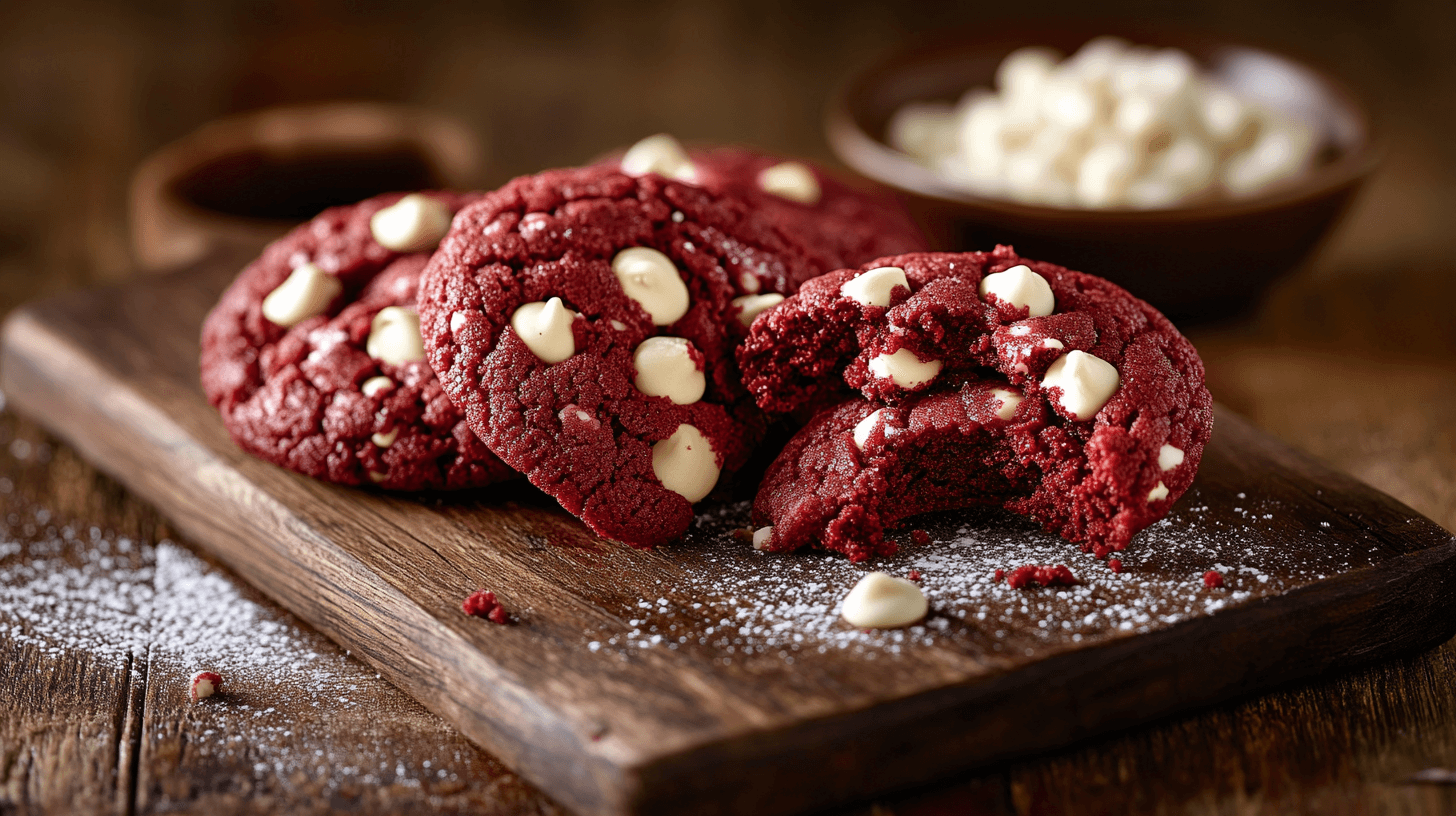
Red velvet cookies are a delightful treat that combines the rich chocolatey flavour of cocoa with a striking red hue, making them as eye-catching as they are delicious. Their soft, chewy texture and subtle tanginess set them apart from regular cookies, making them a standout choice for dessert lovers everywhere.
These cookies are popular for holidays thanks to their festive colour and decadent flavour. They’re also perfect for special occasions, gifting, or satisfying your sweet tooth on any day.
This post will walk you through a step-by-step guide to making the best red velvet cookies at home. You’ll find tips to achieve the perfect texture, creative variations to customize your cookies, and answers to frequently asked questions to ensure baking success. Get ready to create a batch of cookies that are sure to impress!
Ingredients You’ll Need for Red Velvet Cookies
Creating the perfect red velvet cookies starts with the right combination of ingredients. Here’s what you’ll need:
Dry Ingredients
- All-purpose flour: Forms the base of the cookie dough.
- Cocoa powder: Adds the signature chocolatey flavour.
- Baking soda: Helps the cookies rise slightly for a soft texture.
- Salt: Balances the sweetness and enhances the flavours.
Wet Ingredients
- Unsalted butter: Provides richness and ensures a soft, tender crumb.
- Granulated sugar and brown sugar: A mix of sugars creates sweetness and a chewy texture.
- Eggs: Acts as a binder and adds moisture.
- Vanilla extract: Enhances the overall flavour profile.
Signature Add-Ins
- Red food colouring: Gives the cookies their vibrant red hue, essential for the classic red velvet look.
- White chocolate chips: Add creamy sweetness that pairs perfectly with the cocoa.
- Cream cheese filling: For an indulgent twist, you can fill the cookies with a creamy centre.
Optional Additions
- Semi-sweet chocolate chips: For a richer chocolate flavour.
- Sprinkles: Great for festive occasions or added crunch.
- Chopped nuts: Adds texture and a nutty flavour.
Pro Tip
Use gel food colouring for a bold, vibrant red colour. Gel colouring is concentrated, so you’ll get the desired hue without adding too much liquid to the dough, ensuring the perfect consistency for baking.
How to Make Red Velvet Cookies
Follow these detailed steps to create perfectly soft, delicious, and vibrant red velvet cookies that impress you.
Prepare the Dough
- Cream the Butter and Sugars: In a large mixing bowl, use an electric mixer to beat unsalted butter, granulated sugar, and brown sugar until the mixture is light, creamy, and fluffy. This step ensures the cookies have a soft texture.
- Add Wet Ingredients: Beat the eggs one at a time, ensuring each egg is fully incorporated before adding the next. Mix in vanilla extract and red food colouring, starting with a few drops and adjusting until you achieve the desired vibrant red hue. Be sure to mix thoroughly so the colour is evenly distributed.
- Incorporate the Dry Ingredients: In a separate bowl, whisk together the all-purpose flour, cocoa powder, baking soda, and salt. Gradually add the dry mixture to the wet ingredients, mixing quickly to avoid overworking the dough. Mix until just combined for the best cookie texture.
Fold in Add-Ins
Gently fold in your choice of add-ins, such as white chocolate chips, semi-sweet chocolate chips, crushed nuts, or colourful sprinkles. Stir until the mix-ins are evenly distributed throughout the dough, ensuring every cookie has a balanced bite.
Shape the Cookies
- Portion the Dough: Use a cookie scoop or a tablespoon to portion the dough into evenly sized-balls. This guarantees that all the cookies bake evenly.
- Place on Baking Sheet: Arrange the dough balls on a parchment-lined baking sheet, leaving enough space between them to allow for spreading during baking. For larger cookies, leave at least 2 inches between each ball.
Bake to Perfection
- Preheat the Oven: Heat your oven to 350°F (175°C) and let it preheat. Bake the cookies for 10–12 minutes, keeping an eye on them as they bake. The edges should be set, but the centres may look slightly underbaked—that’s the key to soft, chewy cookies, as they will continue to firm up while cooling.
- Cool: Allow the cookies to cool on the baking sheet for about 5 minutes to set. Next, move them to a wire rack to cool fully. This prevents them from overbaking on the hot baking sheet.
Pro Tip
Before baking, chill the dough in the refrigerator for at least 30 minutes. This helps the dough firm up, reducing excessive spreading during baking and resulting in thicker, chewier cookies with beautifully soft centres.
Tips for Perfect Red Velvet Cookies
Follow these detailed tips to ensure your red velvet cookies are soft, vibrant, and irresistible every time.
Achieving the Best Texture
Use Room-Temperature Ingredients:
Before starting, let your butter, eggs, and other wet ingredients come to room temperature. This ensures they mix evenly, creating a smooth dough that leads to soft, tender cookies.
Chill the Dough:
Chilling the dough for at least 30 minutes before baking helps firm it up, preventing the cookies from spreading too much during baking. This results in thicker, chewier cookies with a perfectly soft centre.
Getting the Right Color
Balance Food Coloring and Cocoa Powder:
Opt for gel-based red food colouring to achieve a bold, vibrant hue without wetting the dough. Use the recommended cocoa powder to balance the cookie’s chocolate flavour without muting the bright red.
Test the Shade:
After mixing the food colouring, check the dough’s colour and adjust if necessary before incorporating all the dry ingredients. Here’s your opportunity to achieve the perfect classic red velvet appearance.
Avoid Overbaking
Watch the Edges:
Bake the cookies until the edges are set and the centres look slightly underbaked. Overbaking can make the cookies dry and crumbly instead of soft and chewy.
Cooling Time:
Allow the cookies to sit on the baking sheet for 5 minutes before placing them on a wire rack. The residual heat will finish cooking the centres without over-drying them.
Pro Tip
Rotate the Baking Sheet: Halfway through the baking time, rotate the baking sheet in the oven to ensure even heat distribution. This simple step helps every cookie bake evenly, avoiding uneven textures or browning.
Creative Variations for Red Velvet Cookies
Red velvet cookies offer endless possibilities for creative twists, making them a versatile dessert for any occasion. Here are some exciting ways to elevate your cookies with unique flavors, fillings, and decorations:
Red Velvet Cream Cheese Cookies
How to Make:
Flatten the cookie dough slightly and place a dollop of cream cheese filling in the center. Fold the dough around the filling, sealing it completely before baking.
Why You’ll Love It:
These cookies feature a luscious, tangy cream cheese center that perfectly complements the rich, chocolatey red velvet flavor. Each bite delivers a soft cookie exterior with a gooey surprise inside.
Red Velvet Cookie Sandwiches
How to Make:
Bake standard red velvet cookies, then sandwich two with a thick layer of cream cheese frosting.
Perfect For:
These decadent cookie sandwiches are ideal for festive celebrations, holiday gift boxes, or whenever you’re craving an indulgent dessert.
White Chocolate Chip Red Velvet Cookies
How to Make:
Swap semi-sweet chocolate chips for white chocolate chips in the dough to create a creamy, sweet contrast.
Flavor Profile:
White chocolate’s smooth, sweet taste enhances the rich cocoa flavor of the red velvet cookies, adding an extra layer of indulgence.
Holiday-themed Red Velvet Cookies
How to Make:
Decorate baked cookies with colorful toppings like green and red sprinkles for Christmas or heart-shaped sprinkles for Valentine’s Day. For added creativity, shape the dough into hearts, stars, or other festive designs before baking.
Get Creative:
Whether it’s a holiday celebration or a themed party, these cookies are perfect for customizing to fit the occasion.
Pro Tip
Experiment with Shapes and Toppings: Don’t hesitate to let your imagination shine! Use colorful sprinkles and edible glitter, or shape the cookies into fun forms to suit your event. Red velvet cookies are the perfect canvas for your creativity.
FAQs and Storage Tips for Red Velvet Cookies
FAQs
Can I use liquid food coloring?
Yes, liquid food coloring works but may thin the dough slightly. Adjust the recipe by reducing other liquid ingredients, such as vanilla extract or egg whites, to maintain the desired dough consistency. You may need to use a larger quantity than gel food coloring for a vibrant red.
How do I prevent cookies from spreading?
To keep cookies from spreading excessively during baking:
- Chill the dough in the refrigerator for a minimum of 30 minutes before baking. This firms up the butter and helps the cookies maintain their shape.
- Avoid overmixing the dough, as this can break down the butter and cause the cookies to spread more than desired.
Can I make these cookies gluten-free?
Yes, you can make these cookies gluten-free by replacing all-purpose flour with a 1:1 gluten-free blend. Ensure that other ingredients, like baking soda and food coloring, are certified gluten-free to ensure the recipe is safe for those with gluten sensitivities.
Storage Tips
At Room Temperature:
Baked cookies can be stored in an airtight container for up to 5 days to retain their softness and freshness. Keep the container in a cool, dry place away from direct sunlight.
Freezing Dough:
For easy, make-ahead cookies:
- Roll unbaked dough into balls and place them on a baking sheet lined with parchment paper.
- Freeze until solid, then transfer the dough balls to a freezer-safe bag or container.
- Bake straight from frozen, increasing the baking time by 1–2 minutes.
Pro Tip
Layer cookies with parchment or wax paper to prevent sticking, especially if they are frosted or filled. This method helps keep your cookies intact and presentation-ready for when you’re ready to serve them!
Conclusion
Making red velvet cookies at home is a delightful way to enjoy a classic treat with elegance. Their vibrant color, soft texture, and rich flavor make them perfect for any occasion, from holidays to everyday indulgence.
This straightforward and adaptable recipe allows you to experiment with creative variations like cream cheese fillings or festive sprinkles to suit your taste and style. If you’re a fan of classic cookies, be sure to check out our Easy Chocolate Chip Cookies recipe for another delicious baking adventure.
We’d love to see your red velvet cookie creations! Try the recipe, explore your unique twists, and share your results, tips, or questions in the comments below. Don’t forget to tag us on social media so we can celebrate your delicious masterpieces together!
Red Velvet Cookies
Ingredients
Dry Ingredients:
- 2 ½ cups all-purpose flour
- ½ tbsp cocoa powder
- 1 tsp baking soda
- ¼ tsp salt
Wet Ingredients:
- 1 cup unsalted butter, softened
- 1 cup granulated sugar
- ½ cup brown sugar
- 2 large eggs
- 2 tsp vanilla extract
- 2-3 tsp red gel food coloring
Signature Add-Ins:
- 1 cup white chocolate chips
Optional Additions:
- ½ cup semi-sweet chocolate chips
- Sprinkles (for decoration)
- ½ cup chopped nuts
Instructions
Prepare the Dough:
- In a mixing bowl, whisk together the flour, cocoa powder, baking soda, and salt. Set aside.
- In another bowl, cream the butter, granulated sugar, and brown sugar until light and fluffy.
- Add eggs one at a time, mixing well after each addition. Stir in vanilla extract and red food coloring until evenly combined.
Combine Wet and Dry Ingredients:
- Gradually mix the dry ingredients into the wet mixture, stirring until just combined.
- Fold in white chocolate chips (and optional add-ins if desired).
Shape the Cookies:
- Chill the dough in the refrigerator for 30 minutes.
- Preheat the oven to 350°F (175°C) and line baking sheets with parchment paper.
- Use a cookie scoop or tablespoon to portion dough into evenly sized balls. Place them on the baking sheets, leaving space for spreading.
Bake:
- Bake for 10–12 minutes or until the edges are set but the centers look slightly underbaked.
- Cool on the baking sheet for 5 minutes before transferring to a wire rack to cool completely.