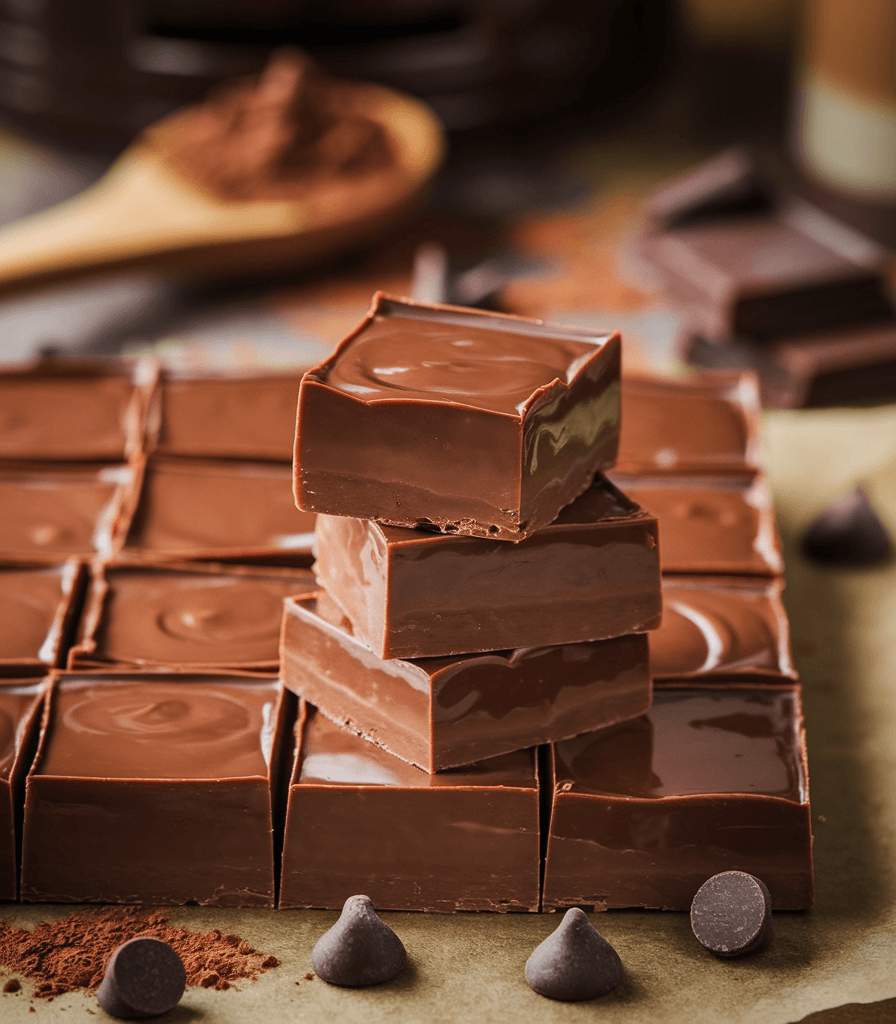
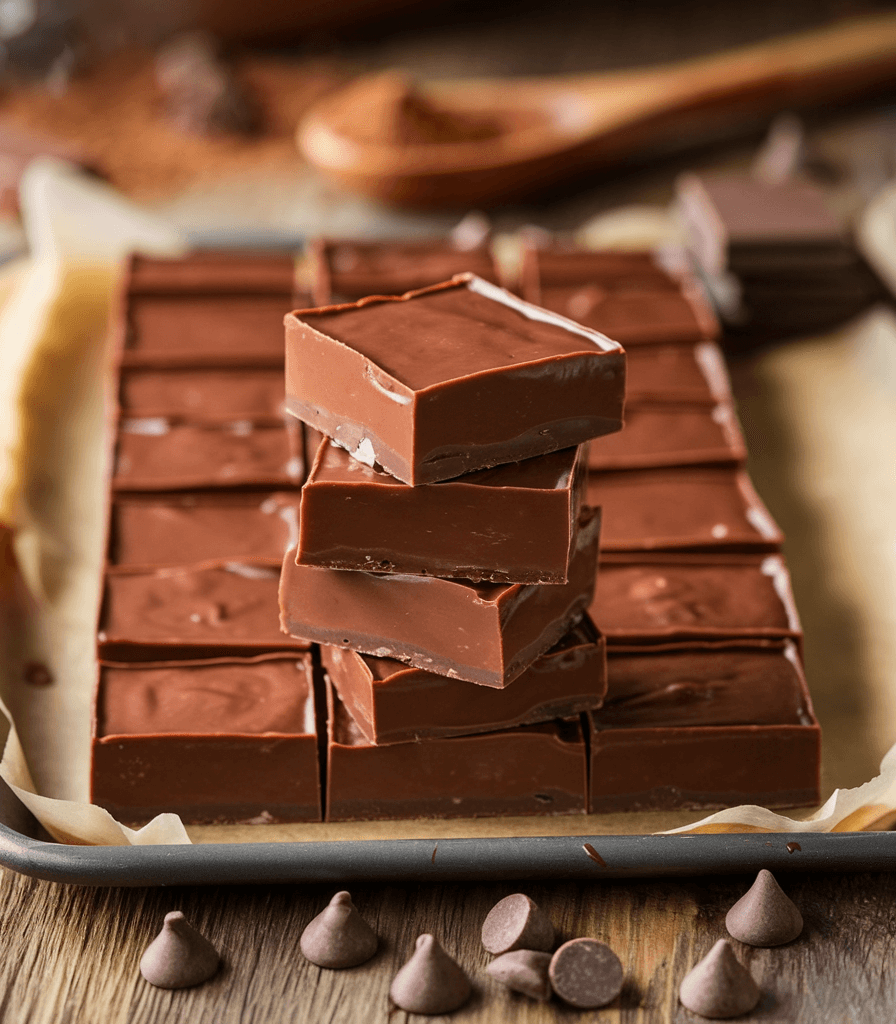
Craving a rich, creamy, melt-in-your-mouth dessert? This Easy Fudge Recipe is the perfect solution! With just a few simple ingredients and no fancy equipment, you can whip up a batch of homemade fudge that tastes like it came straight from a candy shop. Whether you’re making it for a holiday treat, a special gift, or simply to satisfy your sweet tooth, this quick and foolproof recipe is guaranteed to impress. Plus, it’s easy to customize with your favorite flavors and toppings, making it a go-to dessert for breakfast! Let’s dive into how you can make this irresistible fudge in no time.
Easy Fudge Recipe
Fudge is my ultimate choice for satisfying my sweet tooth, mainly due to its simplicity and rich flavour. With just a handful of essential ingredients, I can easily create a batch that delights everyone who tries it. The process of melting chocolate, mixing in creamy butter, and sweetening it with sugar is quick and incredibly rewarding. Each time I make it, I experiment with various add-ins, like nuts or a swirl of peanut butter, to further elevate the flavour. The best part is watching my friends and family savour each bite, their expressions of bliss a testament to how irresistibly good homemade fudge can be!
Basic Ingredients for Homemade Fudge
Here’s the deal: you only need a little to start. This straightforward fudge recipe calls for just three main ingredients:
| Ingredient | Quantity |
|---|---|
| Butter | 1/2 cup (that’s one stick) |
| Sweetened Condensed Milk | 1 can (14 oz) |
| Chocolate Chips | 2 cups |
These humble ingredients come together like magic to make creamy, rich fudge. What’s even better? You can jazz this up however you’d like. I love tossing in different mix-ins to amp up the yum factor.
Adjusting Flavors and Variations
There is plenty of room here to get creative and play with flavours. Here are some twists I love:
- Cinnabon Fudge: Throw in some cinnamon and a splash of vanilla extract to capture that cinnamon bun magic.
- Peanut Butter Fudge: Swap out part of the chocolate chips with smooth peanut butter for a nutty spin.
- Classic Chocolate Fudge: Stick to the basics and enjoy that comforting chocolatey goodness.
Getting the temperature right is critical when making fudge. I aim for the sweet spot between 234 and 237ºF, using my trusty candy thermometer to monitor things. This gives it just the right texture.
I love how a bit of imagination can turn this fudge into something exciting, making it an easy and entertaining treat!

Making Homemade Fudge
Want to whip up some delicious fudge that’ll make everyone’s taste buds dance? Well, you’re in luck because I’ve got the lowdown on getting it just right, with a focus on cooking, cooling, and storing like a pro. So, let’s get down to business!
Cooking and Texture Tips
Getting your fudge to that dreamy, melt-in-your-mouth state requires the right temperature and technique. My go-to method? A trusty candy thermometer and a watchful eye. For that spot-on texture using my easy fudge recipe, aim for the soft-ball stage, hovering between 234-237ºF.
Here’s a brief overview of the steps you need to follow:
| Step | Details |
|---|---|
| Temperature | Cook fudge to 234-237ºF |
| Altitude Adjustment | Knock off 2°F for every 1,000 feet up you go |
| Avoid Stirring | Skip the stir once it simmers to dodge graininess |
| Cooling for Texture | Mix once it’s chilled to 110ºF |
Now, pay close attention to stirring. It keeps the fudge velvety smooth but steps away once it hits a simmer. No one wants gritty fudge! When it cools to 110ºF, grab that wooden spoon for a thorough mix. This keeps sugar crystal-free and helps you nail that smooth finish everyone craves.
Cooling and Storage Guidelines
How you chill and store your fudge is a real game-changer for taste and texture. I spread mine in a parchment-lined pan, letting it cool at room temperature—no rush, just patience. Once it’s firm and ready, cut it into squares and store it right.
Here’s how I keep it fresh:
| Storage Method | Description |
|---|---|
| At Room Temperature | Airtight container keeps it good for about two weeks |
| Refrigeration | It’ll last up to three weeks this way |
| Freezing | Safe in the freezer for up to three months |
The freezer is my best friend when making a big batch for later. Wrap it up tight so it’s protected from those chilly burns.
By following these tips, my fudge always turns out smooth and irresistible—good for any get-together or just a well-deserved treat.

Additional Fudge Recipe Variations
Fudge is like the blank canvas of the dessert world, begging for a splash of this or a sprinkle of that. I find endless delight in tinkering with flavours and add-ins, creating treats that suit any mood or gathering. Here are a few of my favorite methods to elevate a basic fudge recipe. Who’s ready to dive into the chocolatey fun?
Adding Mix-Ins
Who doesn’t enjoy a little surprise in their fudge? Mix-ins can elevate fudge from “yum” to “wow!” I frequently include ingredients like nuts, dried fruit, or coconut to give it that extra boost. They bring both flavour and a nice crunch. Here are some popular mix-ins you might like to experiment with:
| Mix-In | Amount (per batch) | Flavor Profile |
|---|---|---|
| Chopped Nuts | 1 cup | Crunchy and nutty magic |
| Dried Fruit | 1 cup | Sweet, chewy fun-fest |
| Shredded Coconut | 1 cup | Tropical, chewy delight |
| Peanut Butter | 1/2 cup | Creamy, indulgent bliss |
| Butterscotch Chips | 1/2 cup | Sweet, buttery goodness |
Simply fold these extras into your fudge mixture as you spread it in the pan. And if you’re feeling extra fancy, sprinkle a little more on top before it sets. Instant eye candy!
Fudge Recipe Modifications
Cooking isn’t just science; it’s also an art. A simple adjustment to the basic fudge recipe can unlock a whole array of flavors. Here are a few variations I’ve experimented with that always garner great reviews:
- Flavour Swaps: Changing the type of chocolate completely transforms the flavor. Dark, white, or specialty chocolates like mint or raspberry add distinct flavors and personalities to your fudge.
- Adult Twists: Looking to give your fudge a grown-up twist? Add a splash of raspberry or orange liqueur for a flavorful kick. Just tweak the sweetened condensed milk so your fudge doesn’t become a pudding.
- Seasonal Hits: Try pumpkin spice for cosy fall days or a mint-chocolate duo for Christmas-y vibes. Adding spices or flavoured extracts spices things up all year round!
Making homemade fudge has never been simpler than with this Easy Fudge Recipe! With just a few ingredients and minimal effort, you can whip up a rich, creamy treat that’s perfect for any occasion. Whether you’re satisfying a quick sweet craving, preparing holiday gifts, or hosting a gathering, this no-fail fudge is sure to impress. The best part? You can customize it with your favorite flavors, mix-ins, or toppings to make it uniquely yours. Once you see how easy and delicious homemade fudge can be, you’ll never go back to store-bought again! Love classic flavors? Try our rich and creamy Old Fashioned Peanut Butter Fudge for a nostalgic, melt-in-your-mouth treat!

Easy Fudge Recipe
Ingredients
- 1/2 cup Butter
- 1 can Sweetened Condensed Milk
- 2 cup Chocolate Chips


